
Introduction
In part one of this series, I wrote about the process of getting you setup to upload your users' large files directly to Amazon S3 from their browser. Part 1a talked about using Amazon S3 signature version 4, which is compatible with all S3 regions.
A default file input field isn't particularly good to look at, and certainly not something you're likely to use in your application.
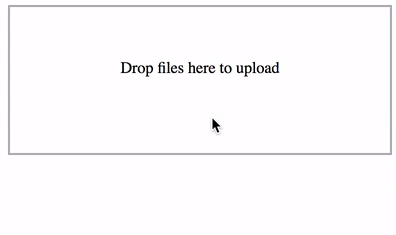
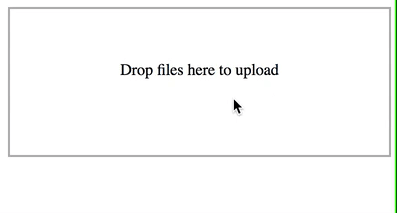
One shortcut to a great user experience is using an off-the-shelf solution in DropzoneJS by Matias Meno. Dropzone gives us drag and drop support and file previews out of the box, and has no external dependencies (like jQuery).
Setup
I'm just going to hotlink the resources for this straight off of a CDN, but in a Laravel application you might look to leverage Mix as part of your existing asset pipeline.
<script src="https://cdnjs.cloudflare.com/ajax/libs/dropzone/5.2.0/min/dropzone.min.js"></script>
<link href="https://cdnjs.cloudflare.com/ajax/libs/dropzone/5.2.0/min/dropzone.min.css" rel="stylesheet">
Once we include the hosted JavaScript and styles, all we need to do to get Dropzone to replace our existing form, is apply the dropzone class to our form. If you're confident your users will user a JavaScript-supporting browser, you can remove the file input field entirely, as Dropzone will use file as the default field name. Otherwise, wrap the file input field and submit button in a fallback div, and Dropzone will show or hide the fallback input as required.
     <form method="post" action="https://{{ config('filesystems.disks.s3.bucket') }}.s3.amazonaws.com" enctype="multipart/form-data"> // [tl! --]
     <form method="post" action="https://{{ config('filesystems.disks.s3.bucket') }}.s3.amazonaws.com" class="dropzone" enctype="multipart/form-data"> // [tl! ++]

     <div class="fallback"> // [tl! ++]
          <input name="file" type="file">
          <button type="submit">Upload</button>
     </div> // [tl! ++]
Getting Dropzone to play with S3
The first - and in my experience only - issue you're likely to come across at this point, now that the POST request is being made via JavaScript, is a CORS error.
The best place to identify anyCORS issues you come across is your browser's console log. Whilst the error messages may not appear straightforward at first, they're reasonably simple to get fix up once you understand them.
<Error>
    <Code>AccessForbidden</Code>
    <Message>CORSResponse: This CORS request is not allowed. This is usually because the evalution of Origin, request method / Access-Control-Request-Method or Access-Control-Request-Headers are not whitelisted by the resource's CORS spec.</Message>
    <Method>POST</Method>
    <ResourceType>BUCKET</ResourceType>
    <RequestId>B040EB56184708E4</RequestId>
    <HostId>DJQLBg5tEId73jnK6KVrwF5sZfOv8/f6G4zByQz9r9g/FZ84EeRK4mZ4L0u1UACn/j26cXFEmUo=</HostId>
</Error>
If you were to inspect the headers that were sent, look for the Access-Control-Request-Method and Access-Control-Request-Headers, which will tell us our next steps.
From here, you'll need to log in to your S3 console and adjust your CORS Configuration. Visit the S3 Management Console, click on your bucket name, then the Permissions tab, then the CORS Configuration button.
Based on the headers we grabbed from the failed request, we'll need to add a new CORSRule within the CORSConfiguration that looks like the following:
<CORSRule>
    <AllowedOrigin>*</AllowedOrigin>
    <AllowedMethod>POST</AllowedMethod>
    <AllowedHeader>x-requested-with</AllowedHeader>
    <AllowedHeader>cache-control</AllowedHeader>
</CORSRule>
Save the changes you made to your CORS configuration, and test the upload again.
It's likely at this point that Dropzone will still give you an error with the upload, even though there's no error to be seen in your console. This is because we've told S3 to return to a URL with the hidden success_action_redirect field in our form. In order for Dropbox to acknowledge the upload as successful, we'll need to tell S3 to return an appropriate HTTP status code, rather than redirecting the user.
The default status code S3 returns in the absence of any other configuration is a 204 No Content, which is suitable for our needs. Simply remove the success_action_redirect field from the form and from the policy signature and the upload will complete successfully.
# resources/views/welcome.blade.php
     <input type="hidden" name="key" value="${filename}">
     <input type="hidden" name="success_action_redirect" value="{{ url('/s3-upload') }}"> // [tl! ++]

# routes/web.php
     ['starts-with', '$key', ''],
     ['eq', '$success_action_redirect', url('/s3-upload')], // [tl! --]
     ['x-amz-algorithm' => 'AWS4-HMAC-SHA256'],

Conclusion
In this post, we've taken our pretty bland and form and enhanced it by using DropzoneJS, which provides us with drag and drop functionality, asynchronous uploads, progress bars, and file previews.
In addition, we've looked at some of the common CORS issues you might come across and how to address them, as well as modifying our upload request signature to no longer redirect the user on a successful upload.
References